hexo +github +vercel搭建个人博客(vercel托管部署方法)
个人博客整体搭建思路
- 本地搭建hexo博客框架;
- 运行hexo命令生成静态网页后,git到github中(github中存储是的存储静态网页的public文件,而非hexo的源代码文件)
- 用hexo生成静态网页
- hexo可以git到github,之后直接部署在vercel上,就不需要本地hexo命令了,只需要安装一个git就ok了
- 因为hexo有很多的文件夹,比如模块或者主题之类的,不管是写作还是同步,node都有大量的文件夹,改进方法是git上放两个分支,一个是主分支你的写作内容,另一个分支hexo分支,通过git action将需要发布的内容复制到hexo分支,然后使用分支即可
- ob有git自动提交插件 这样一套流程下来,你就只需要专注于写作,提交的时候在ob中使用插件git一下就好了,本地是写作分支,也没有那么多的额外文件夹
记录
- github官网: https://github.com/new
- 本地仓库地址:/Users/apple/Documents/…
- github远程仓库地址: https://github.com/2H7K/2H7K.github.io
一、安装依赖环境,部署本地的 Hexo 博客
- 打开 Mac 自带的终端,在根目录下,通过Homebrew安装 Node.js、git、hexo
1
2
3
4
brew install node #安装Node.js、 git、hexo
brew install git #安装git
npm install -g hexo-cli #全局安装Hexo包(推荐菜鸟选择)
npm install hexo #局部安装Hexo包(进阶) 全局和局部安装hexo可二选一
[!NOTE] 可能的报错
产生的问题:npm: command not found
解决方法:参考 https://www.johnpapa.net/how-to-use-npm-global-without-sudo-on-osx/,
强制删除旧 npm 文件夹中的所有内容,路径: /usr/local/lib/node_modules/,终端根目录下运行以下命令:
sudo rm -rf /usr/local/lib/node_modulessudo rm -rf ~/.npm重新安装node后解决问题
brew uninstall node
二、安装Hexo
- 本地新建
Hexo文件夹,为本地仓库1
cd /Users/apple/Documents/Hexo #终端中进入本地Hexo文件夹
- 初始化Hexo初始化成功后,
1
hexo init #初始化Hexo
hexo文件夹内会出现如下的文件:node_modules: 依赖包public:存放生成的页面scaffolds:生成文章的一些模板source:用来存放你的文章themes:放下下载的主题_config.yml:博客的核心配置文件(设置主体、标题等属性)
1 | cnpm install #此命令避免下面的hexo命令不合法 |
- 打开下面的网址,成功显示网址,表示本地安装成功

三、将Hexo 托管至 GitHub
在github官网上新建线上远程仓库,获得远程仓库的地址: https://github.com/2H7K/2H7K.github.io ,设置仓库的名字以
XXX.github.io结尾。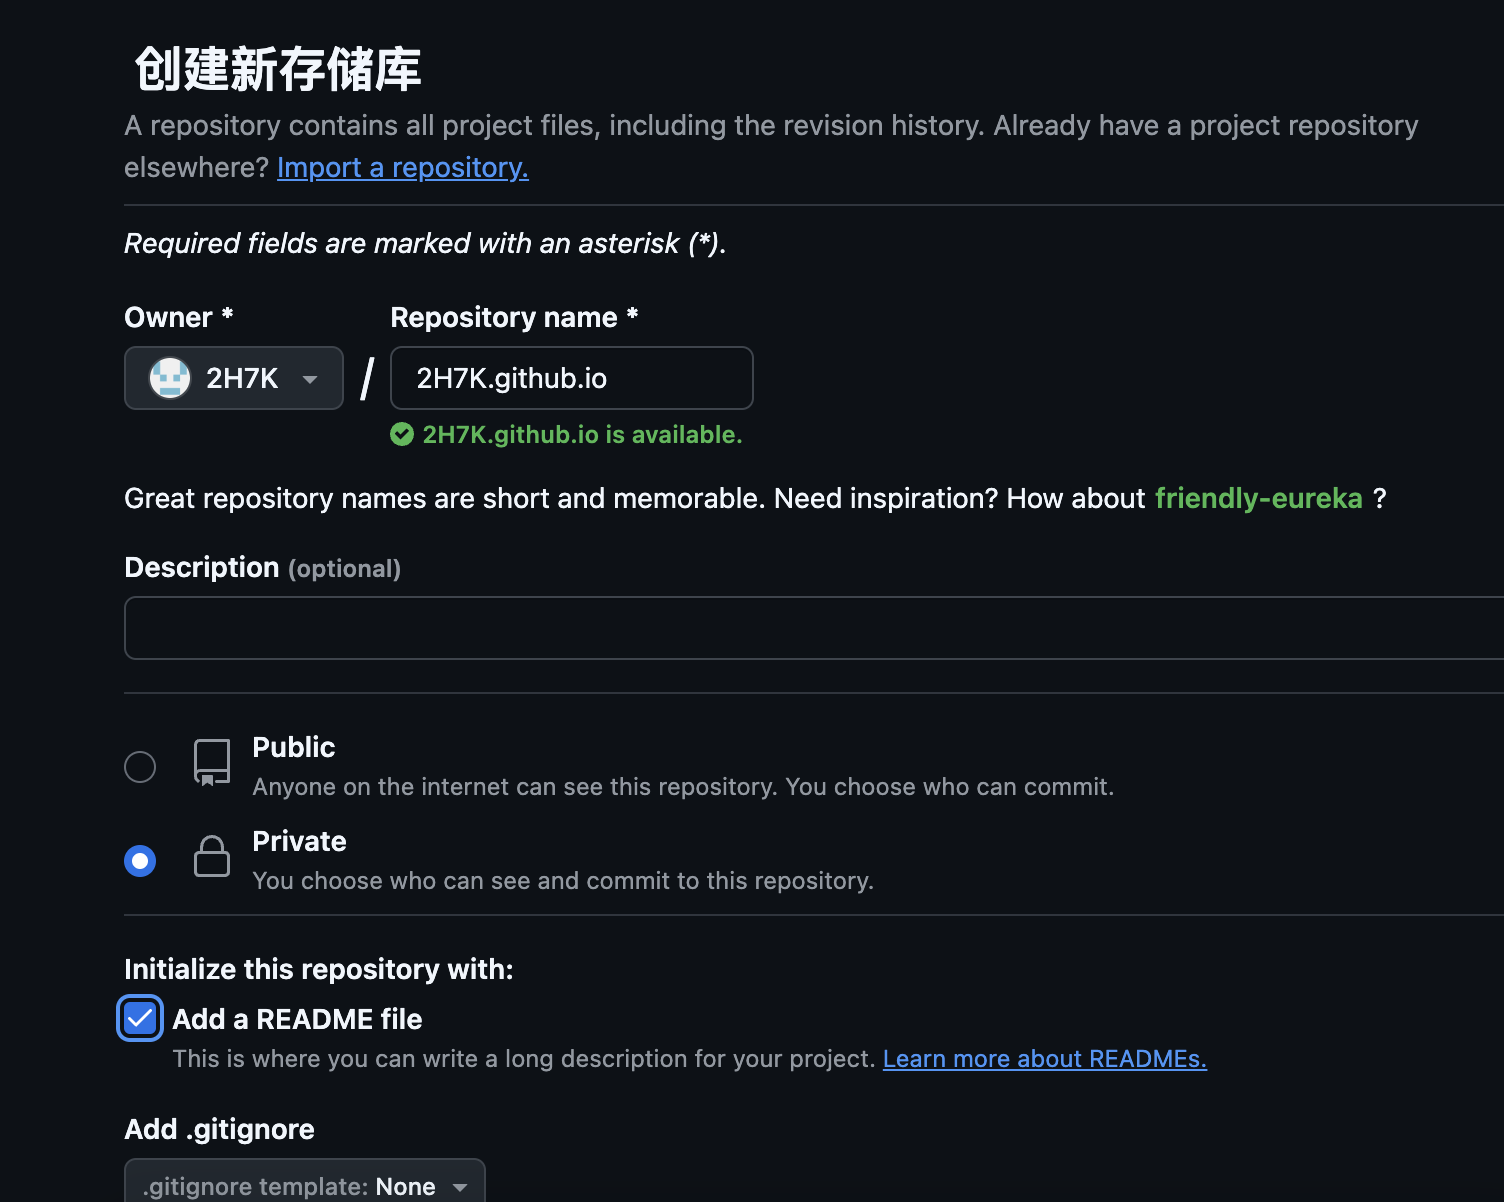
本地Hexo仓库配置,
- 在Hexo目录下,安装 hexo-deployer-git,
npm install hexo-deployer-git --save - 卸载命令
rm -rf hexo-deployer-git,如有必要可卸载后重新安装 - 配置
_config.yml
- 在Hexo目录下,安装 hexo-deployer-git,
1 | # Hexo Configuration |
- 初始化Hexo仓库
1
2
3
4
5
6
7
8
9
10
11
12
13
14
15
16
17#初始化
git init
#主分支更名(可选)
git branch -m main
#将本地仓库与远程仓库连接起来
git remote add origin https://github.com/2H7K/2H7K.github.io.git
#暂存所做的修改;这里的 `.` 表示 `--all` 即所有文件
git add --all
# 提交代码,其中引号内的内容可以自行更改作为提交记录
git commit -m ‘first git'
#推送本地仓库到远程仓库,其中main是本地仓库中主分支名称,一般更改后为 main
git push -u origin main
这里需要输入github的用户名和密码(是指生成token)
一个本地的前端项目就创建好了,我们可以通过 git 在本地管理代码。
至此,我们就将本地和远程的仓库进行了连接,可以方便地通过 git pull 和 git push 拉取和推送代码了。
四、使用 Github Pages 构建和部署静态页面
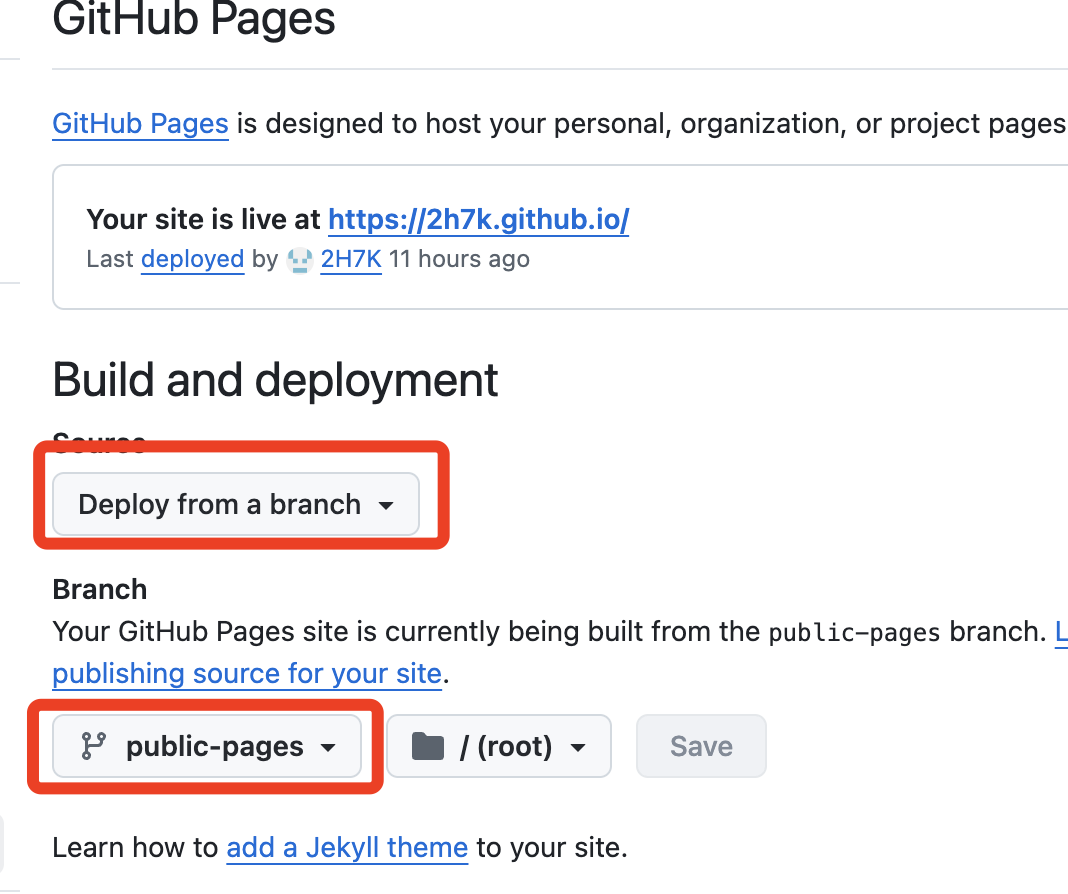
- 在远程仓库中
pages中设置主分支main如下:
这个分支主要存放Hexo的源文件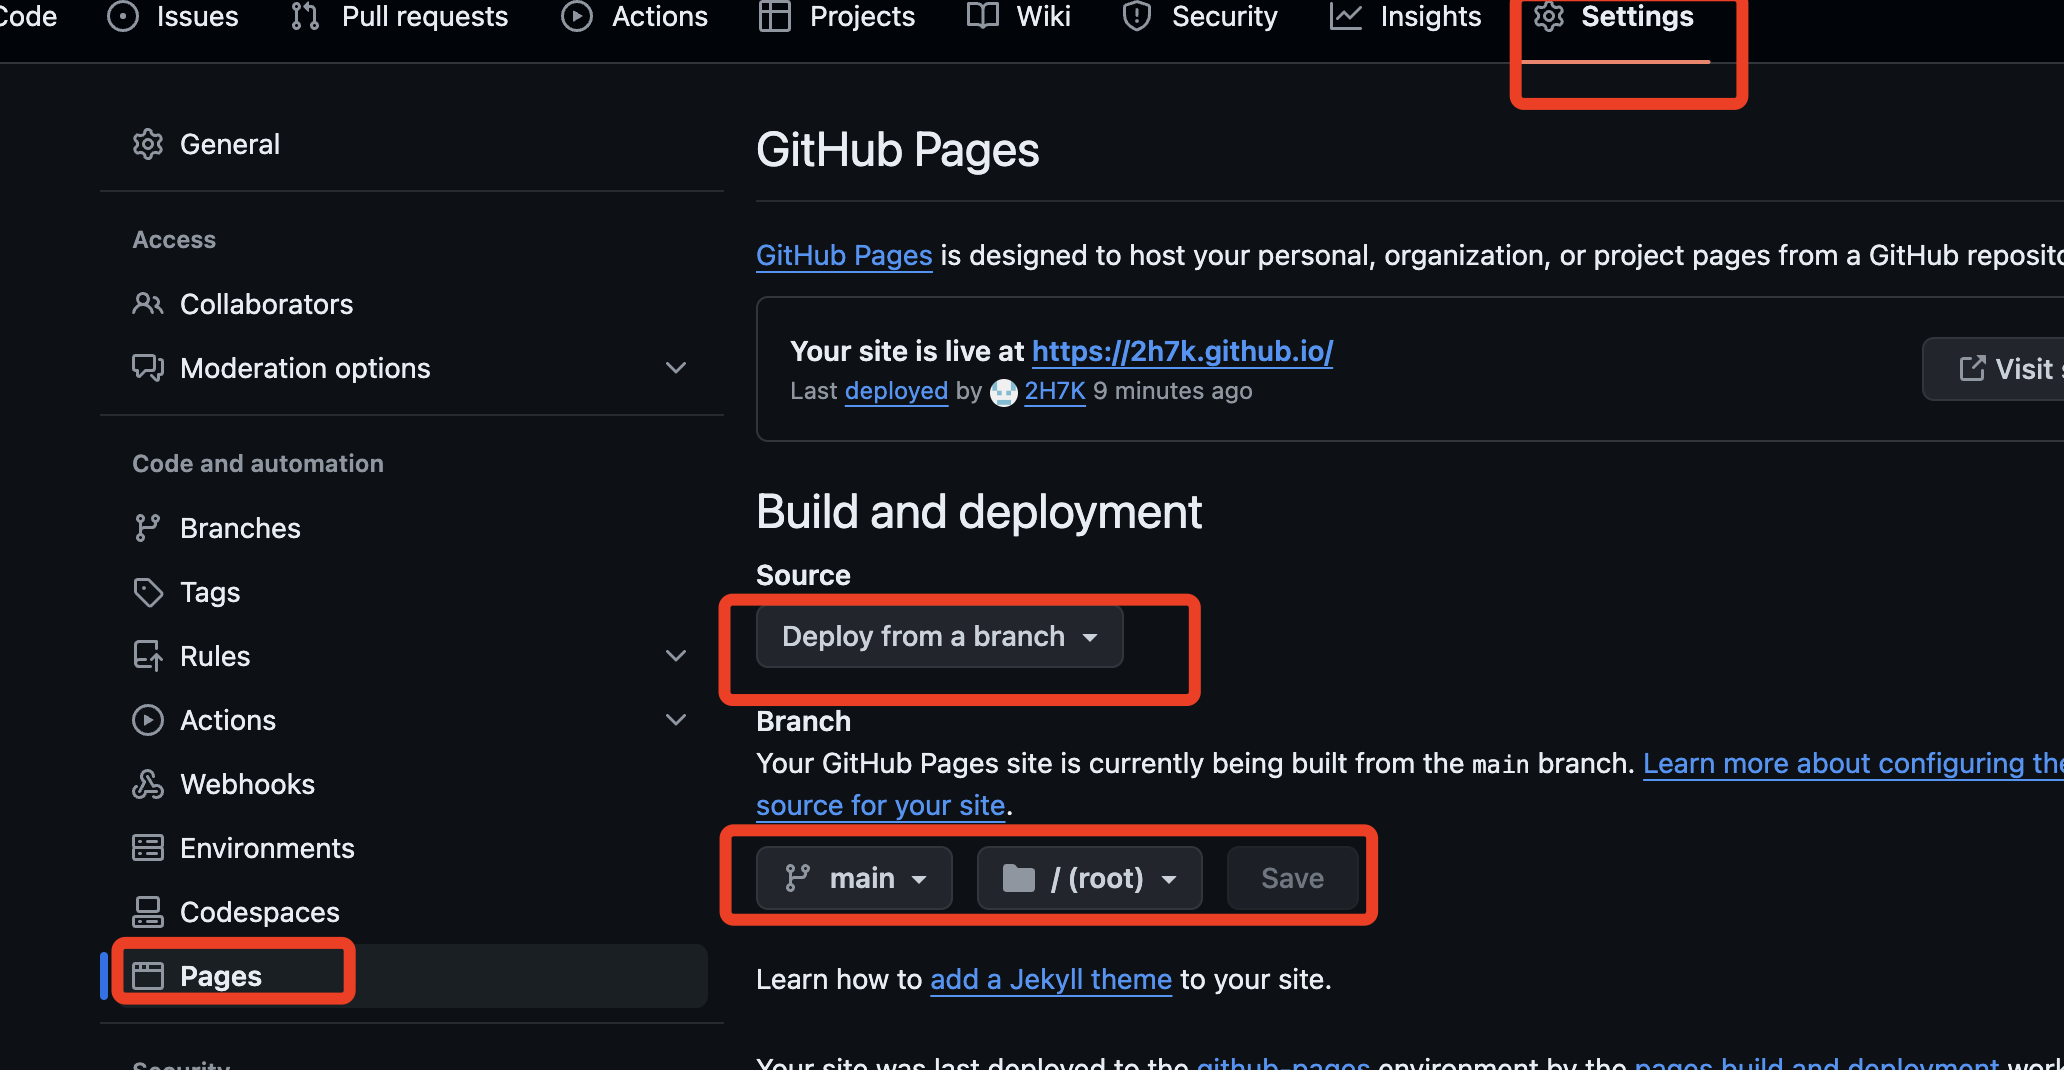
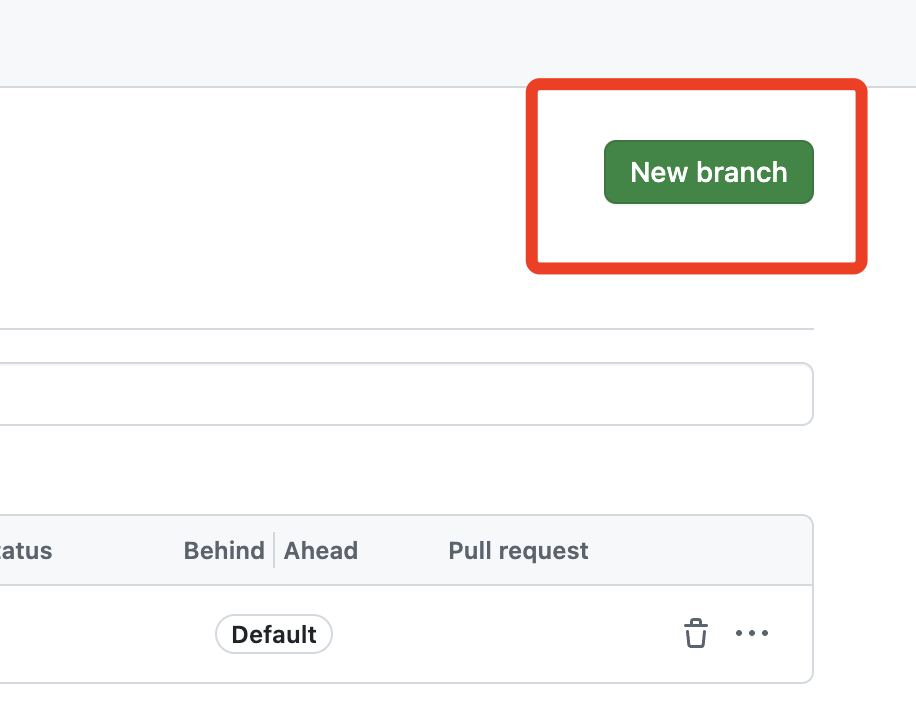
- 在项目的远程仓库中,创建一个新的分支
public-pages(也可以是其他名字):
这个分支的作用是承载编译后的静态页面文件,因此,该分支不需要同步到本地仓库。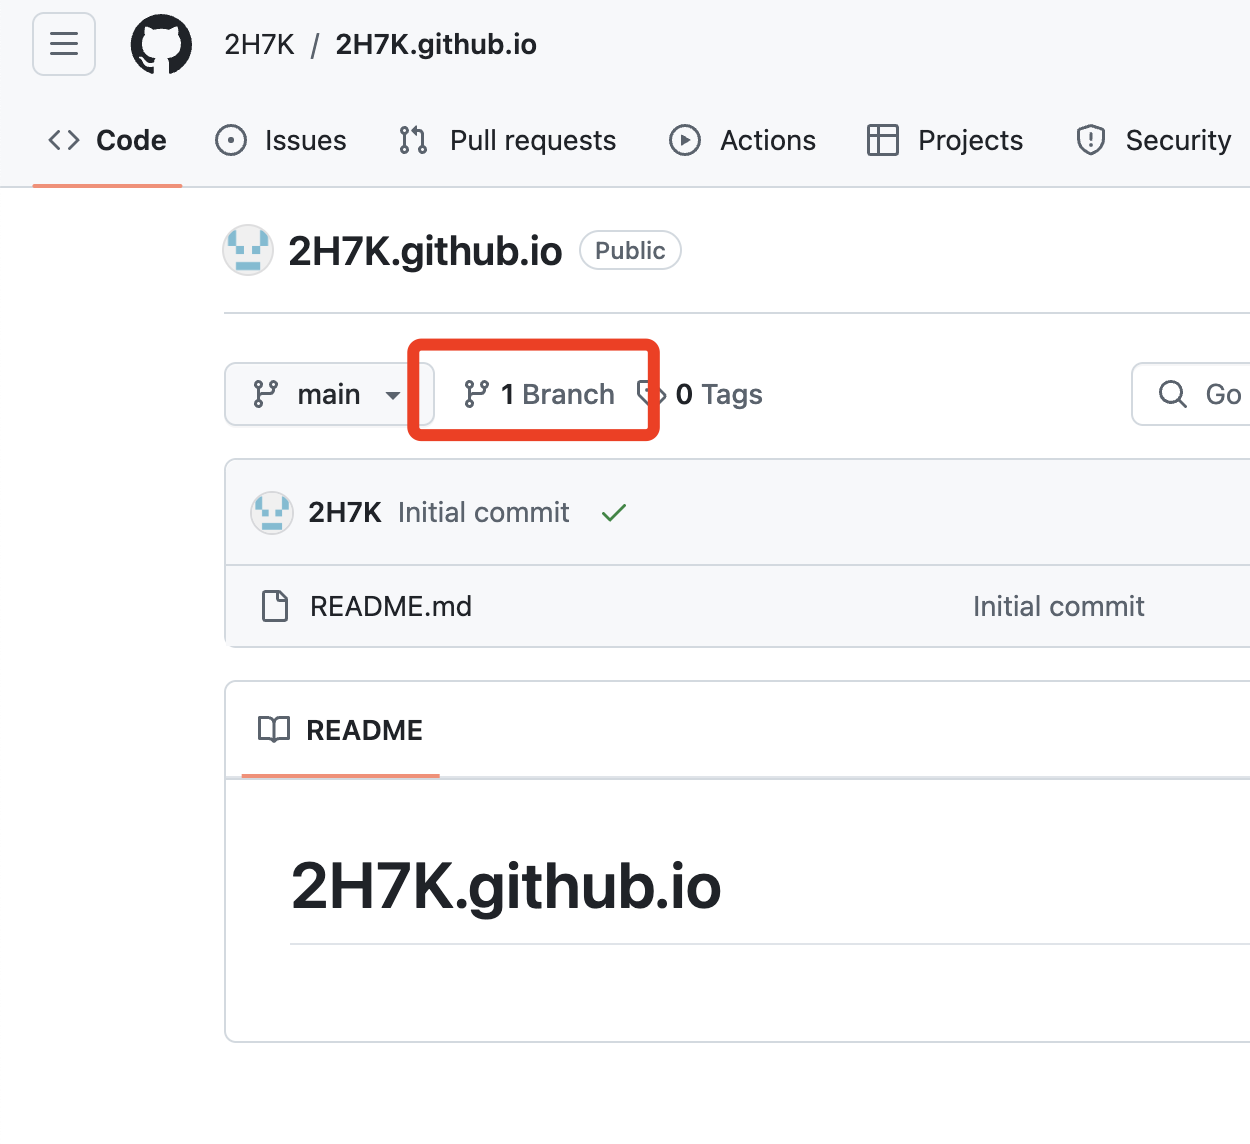
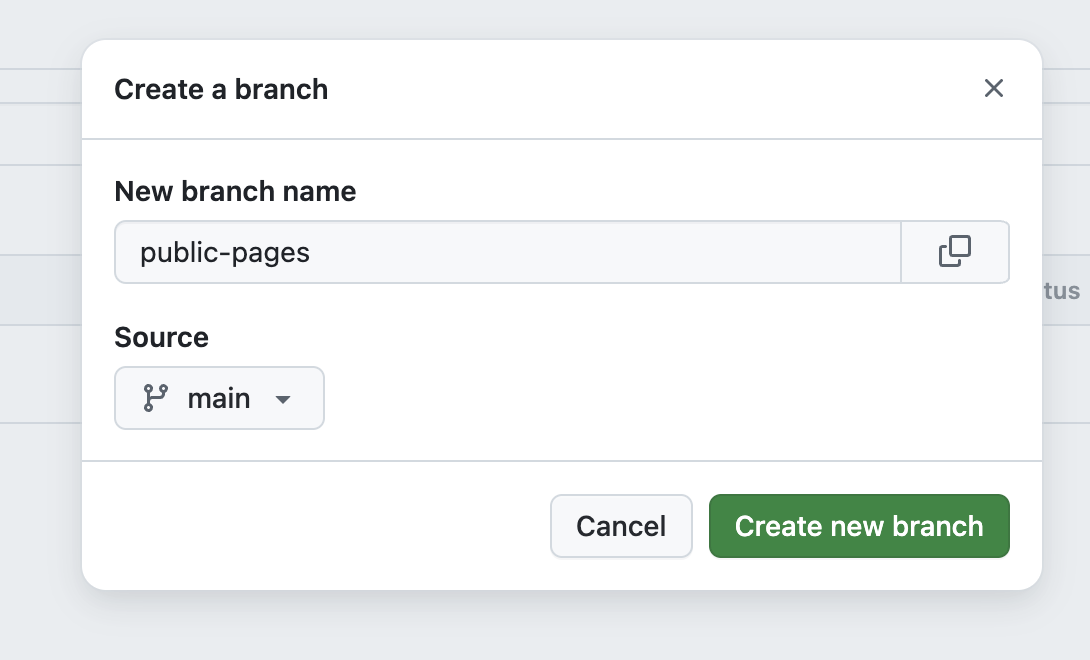
pages中设置分支public-pages
在账号的个人
setting中生成设置token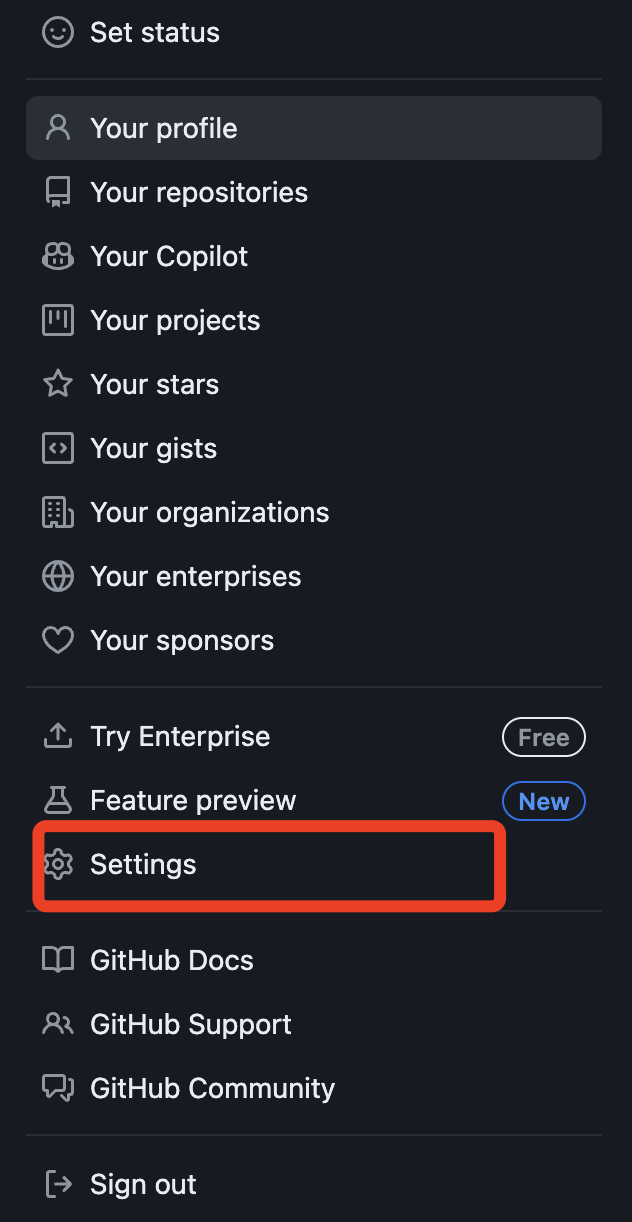
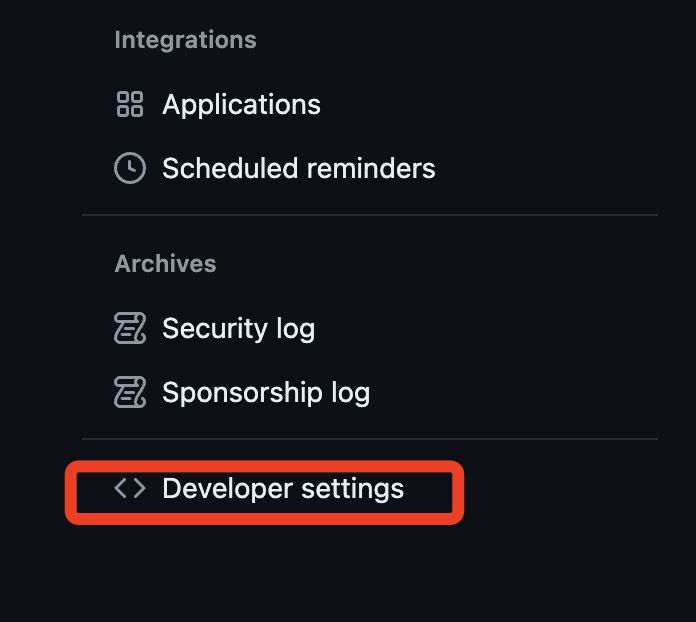
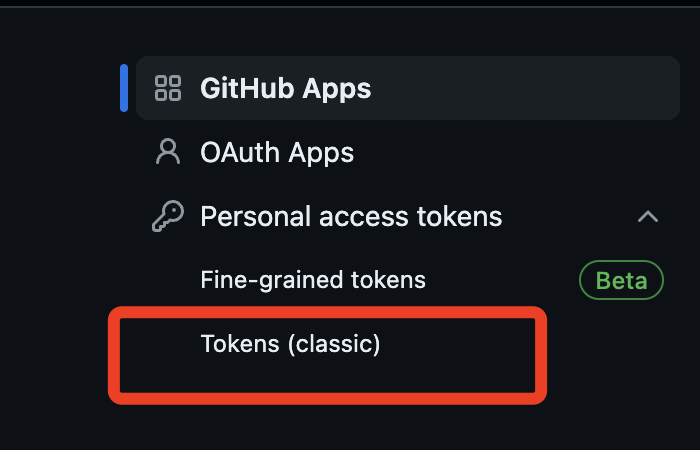
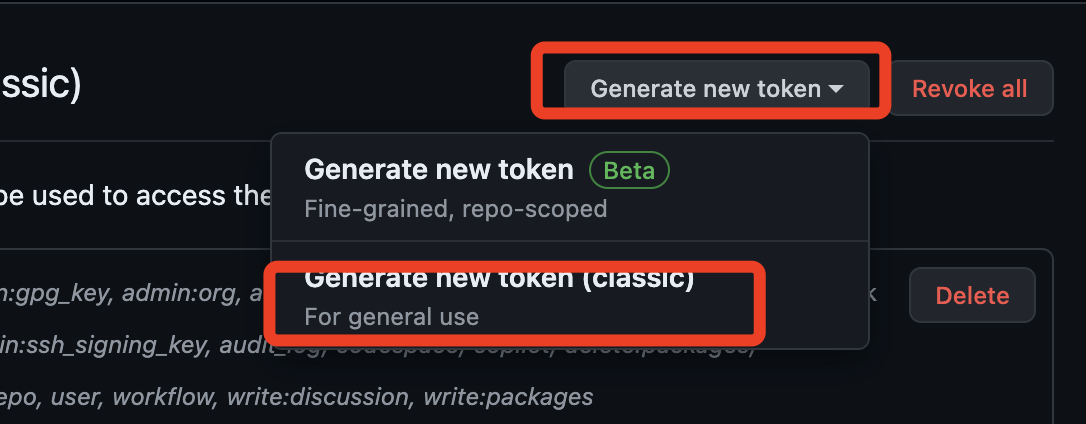
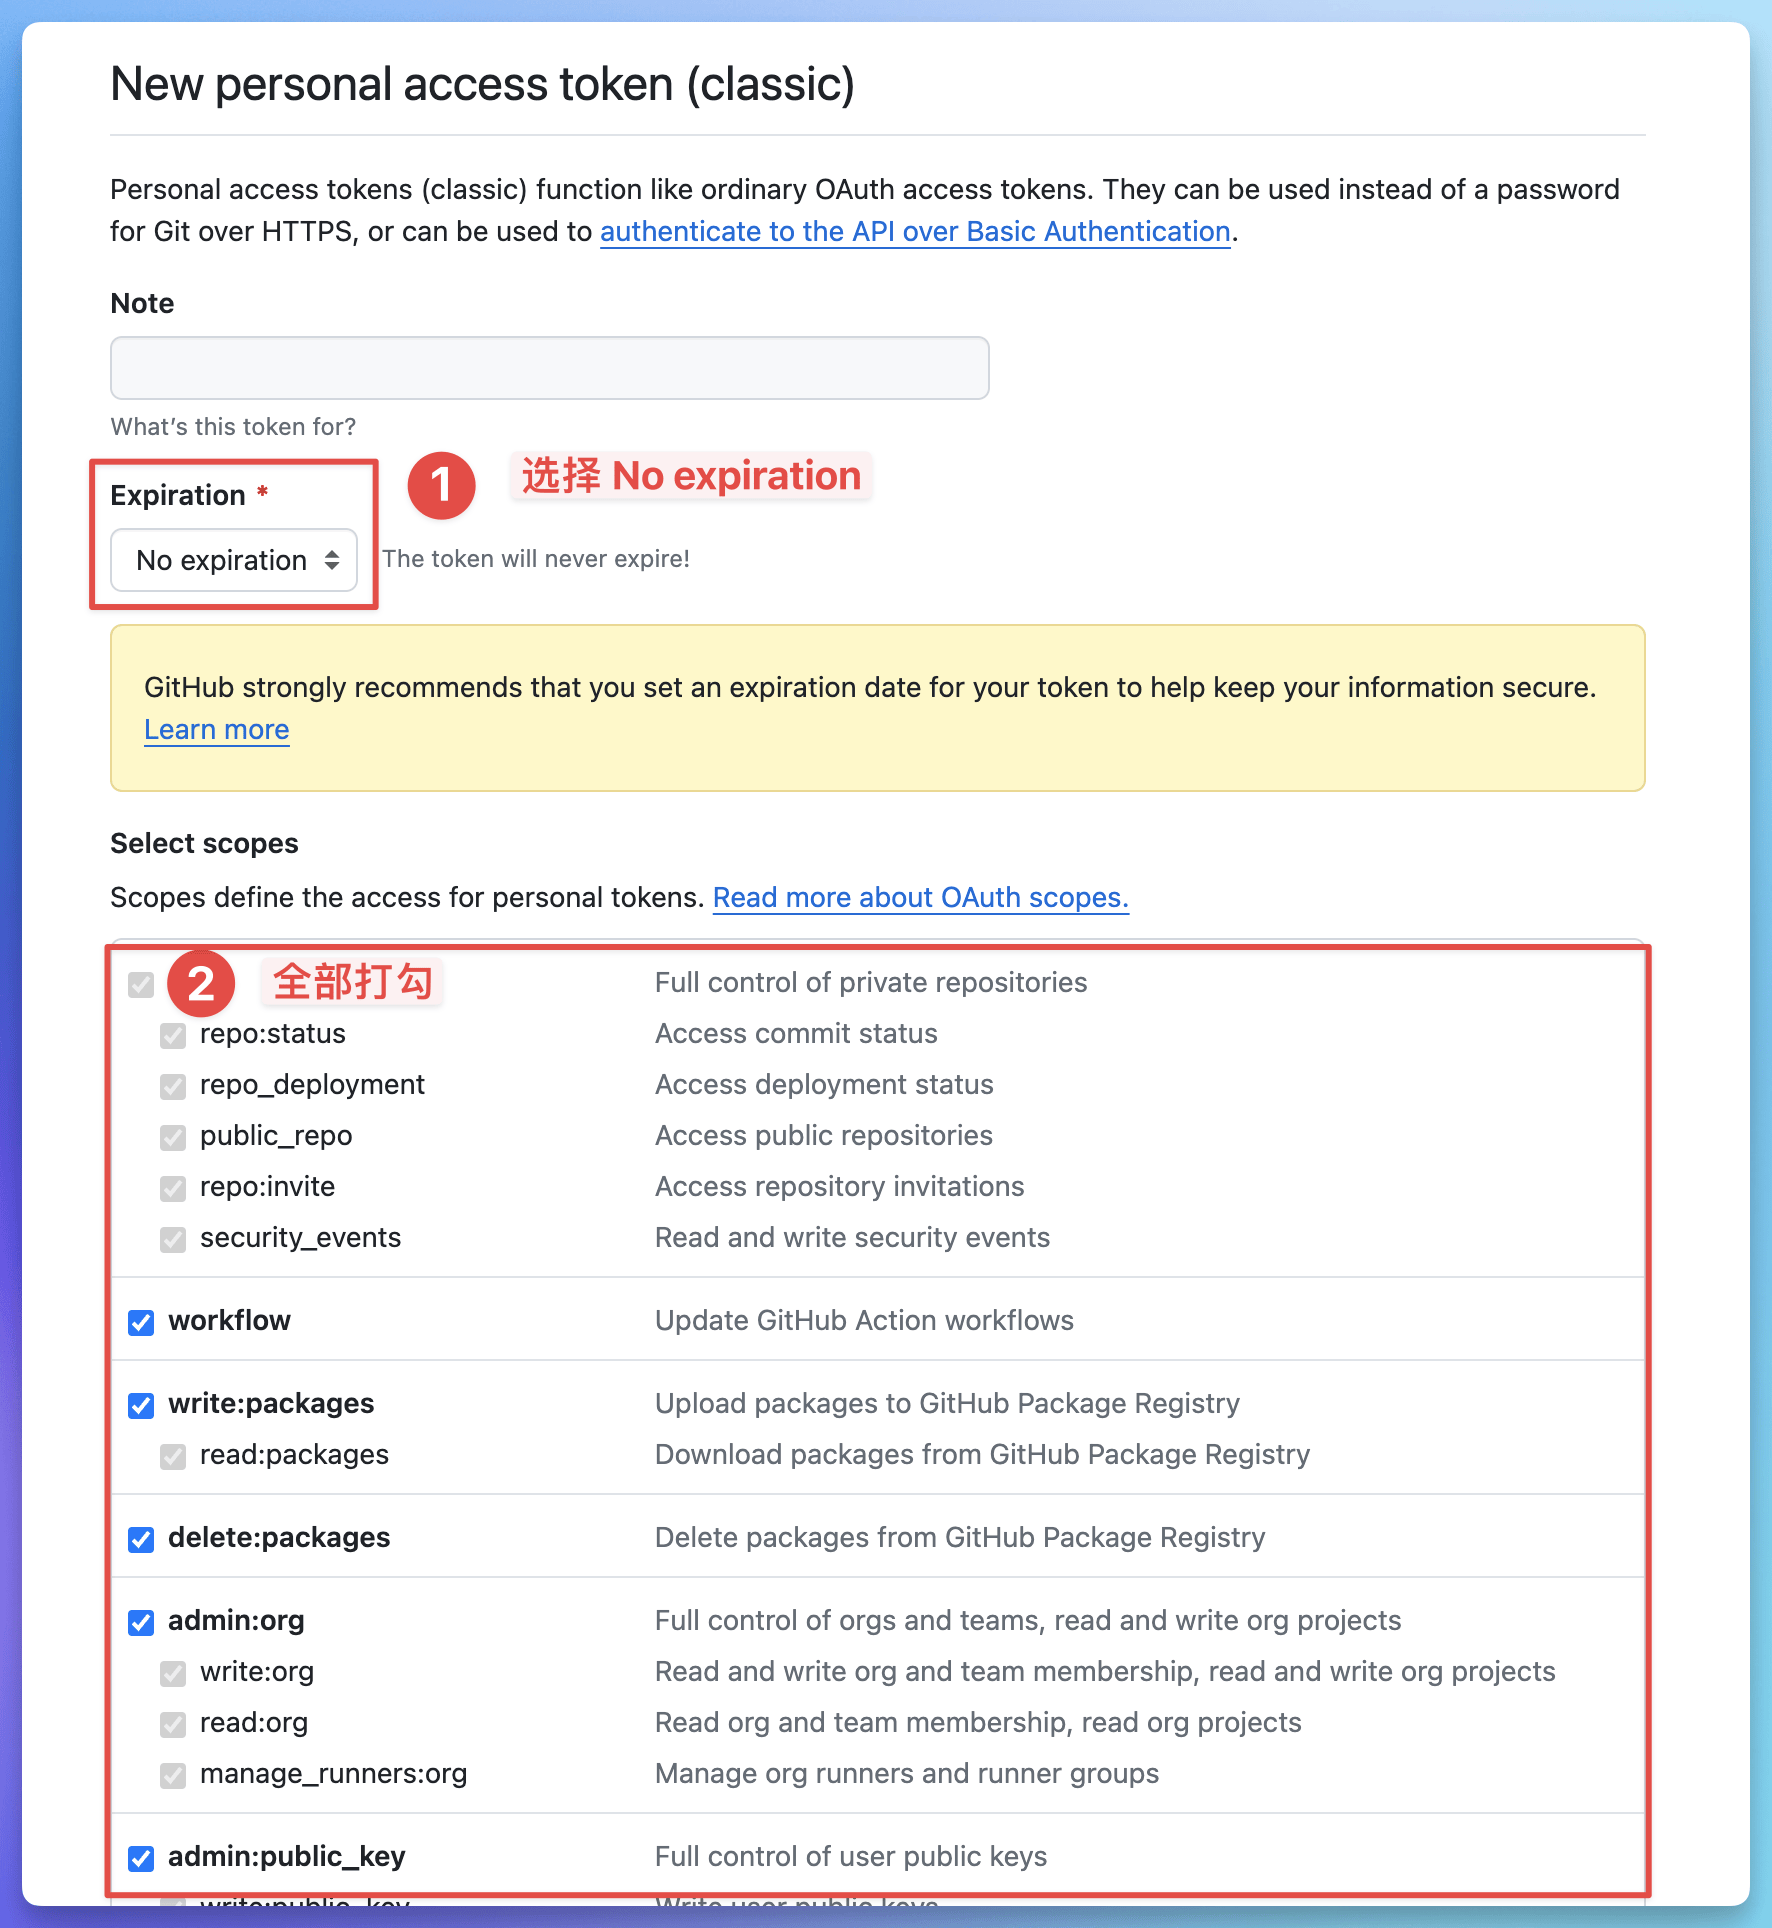
建议只勾选:repo和workflow打开 https://2h7k.github.io/ 查看网站,说明构建完成后, Github Pages 已将静态文件部署到页面服务器
五、安装Hexo主题
- Hexo主题页: https://hexo.io/themes/
- 安装主题:maupassant-hexo
- 主题中文文档: https://www.haomwei.com/technology/maupassant-hexo.html
1
2
3
4
5
安装主题和渲染器
git clone https://github.com/tufu9441/maupassant-hexo.git themes/maupassant
npm install hexo-renderer-pug --save
npm install hexo-renderer-sass-next --save
说明:如果安装失败可能是网络太差了
六、vercel自动部署
原理:识别github中main分支有文件提交后,自动执行hexo的部署命令生成public静态网页文件,并部署到github的public-pages分支。hexo的部署命令:hexo g、hexo d、 hexo s。
访问Vercel官网,点击右上角的sign up进行注册

用github账号登录
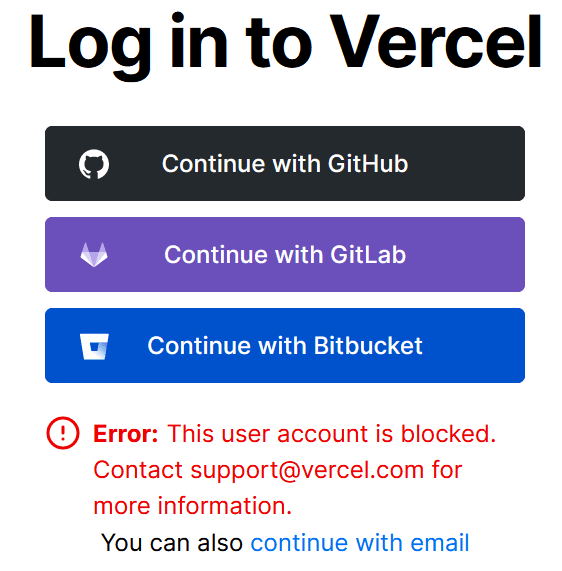
注册完成后选择新建一个项目 或者会识别你github中的项目,选择导入
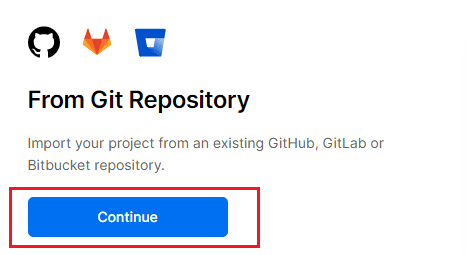
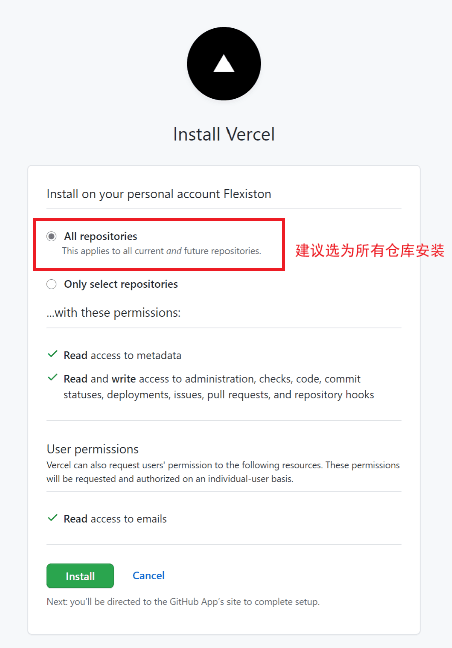
导入静态页面仓库之前,需要为你的Github安装Vercel,此处建议选择All repositories,意为为所有仓库安装,你可选择,也就是Only select repositories(只为当前仓库安装)。
之后会识别出你的静态页面,单击Continue
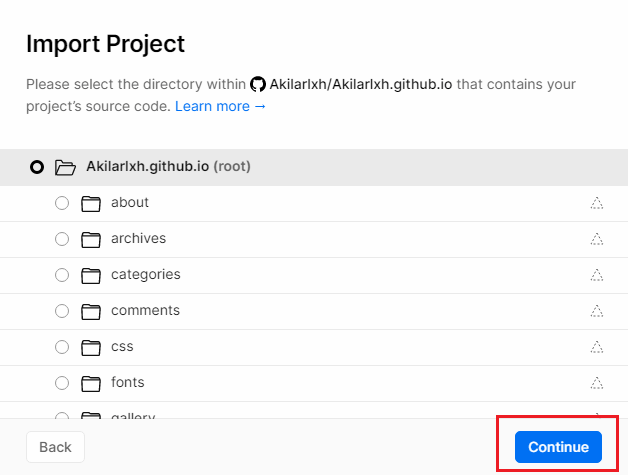
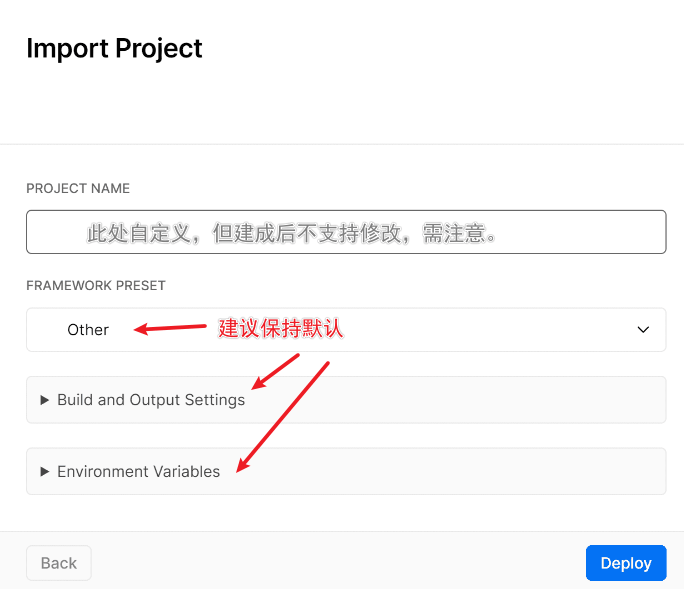
到此时,Vercel的部署其实就已经完成了,可以使用Vercel提供的默认域名来访问静态页面,比Github的原网站要快许多。
自定义域名配置
想必到了这步一定不会甘心于默认域名,所以可以在project->settings->domains里配置自定义域名,填入自定义域名以后还要根据Vercel提供的解析记录去自己的域名DNS解析处添加相应解析。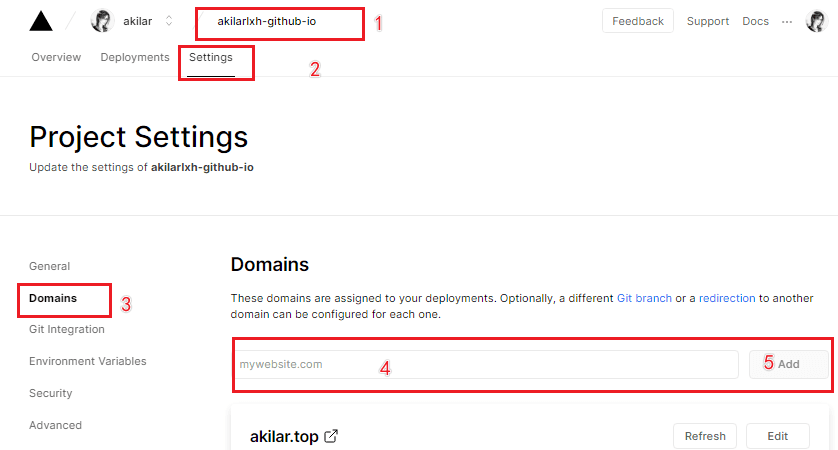
4这里添加域你的域名查看vercel提供的记录值地址,这个有你注册的域名解析中用得到,在你的域名注册商那里解析域名
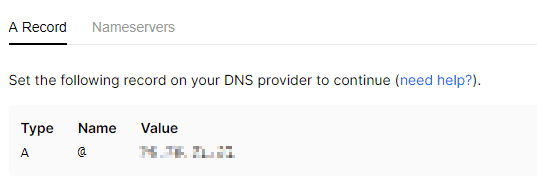

至此,
Vercel的配置就完成了。username.github.io的解析记录了。